SIMPLE AUTHENTICATION (LOGIN,LOGOUT AND REGISTRATION) USING LARAVEL 8
simple authentication(login, logout and registration) using laravel 8

Hey guys, Laravel 8 has been released. It’s great news for Laravel PHP developers out there. Check here for more info.
If you want to upgrade to Laravel 8.0 From 7.X check out this link. As many of you are aware of the benefits and advantages of the Laravel Framework for PHP, I don’t want to go into details. I just want to highlight a few benefits of the Laravel Framework.
- Secure
- Fast and easy
- Truly versatile
- The better output of the website
- And many more…
If you are thinking of choosing Laravel for your next web project you can check out this link.
Okay, Let's get started!!
This tutorial is a basic guideline for quick Laravel Authentication using Laravel 8.0 in a windows operating system. This tutorial will help you to create your own basic and quick login-logout and registration system using Laravel’s built-in Authentication system and contains a step-by-step guide to create your first Laravel 8 authentication. Those who want to create a quick Laravel application without creating a login and registration system from scratch might find this tutorial helpful.
Prerequisites:
- PHP 7 and above
- AMPPS stack
- Composer - A dependency Manager for PHP
- NPM
- Any IDE ( I am using visual studio code for this tutorial)
Steps for simple authentication(Login-logout and Registration) system using Laravel 8
- Create/Install a fresh Laravel 8 project
- Configuration and changes
- Database creation and migration
- Authentication scaffolding
- NPM dependencies
- Run and Test the authentication system
1. Create/Install a fresh Laravel 8 project
First of all, we have to create and install a new Laravel 8 project on our local machine. There are various ways to create a new Laravel project. For this tutorial, I am going to create my new Laravel application using the composer which I find easy and quick way to set up my Laravel application.
Go to your project workspace where you want to create a new Laravel project. I am using AMPPS Stack for this tutorial. www folder is where I am going to set up my fresh Laravel application.
Open your terminal and type the following command using the composer.
composer create-project Laravel/Laravel laravel8authentication 8.0
laravel8authentication is the name of the project whereas 8.0 is the version of Laravel that we are going to use.
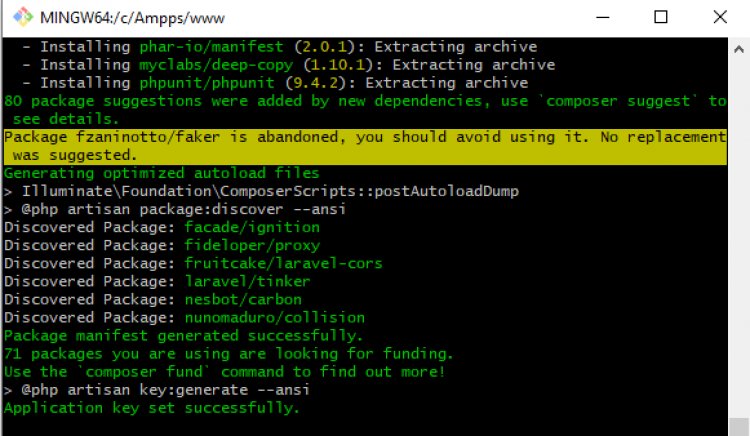
It may take some time according to your internet speed. After completion, you can see a fresh Laravel 8 project in your project workspace.
2. Configuration changes
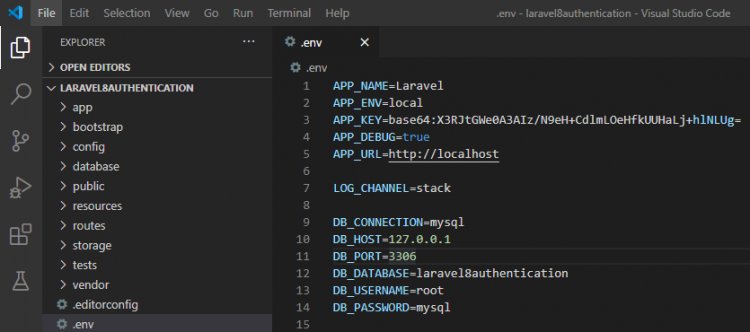
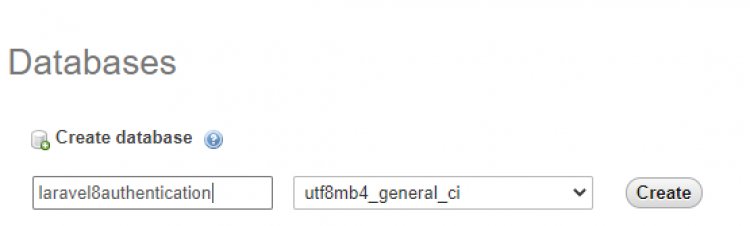
The next step is the configuration and changes. Open .env file and setup database credentials
- database name
- database username
- database password
If you want to generate a new Laravel application key you can create it quickly by typing the following command in your terminal
php artisan key:generate
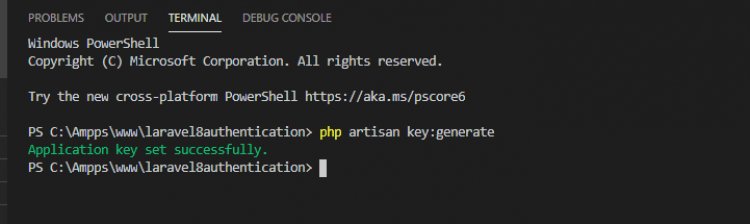
APP_KEY will be changed in the .env file

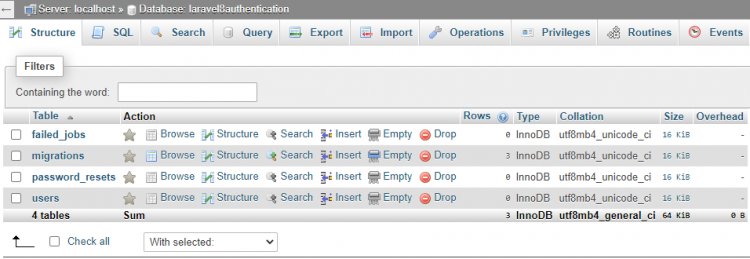
3. Database creation and migration
After the successful creation of your database, you just have to use the following command in your terminal.
php artisan migrate
This command will automatically create required tables for authentication in your database. On running the above command a new migration file is created where you can create, update, and delete new columns in your table.

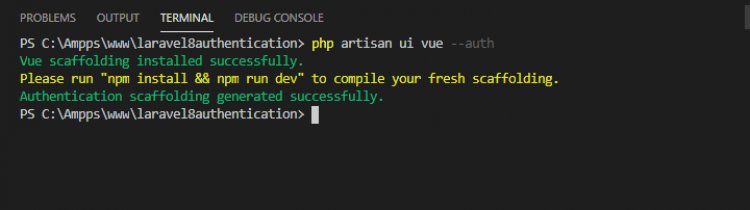
4. Authentication Scaffolding
The fourth step is the Authentication Scaffolding. Laravel has its in-built authentication system. This in-built authentication system contains all the routes, controllers, and view files that are needed for our basic login-logout and registration application.
First of all we have to install the Laravel UI official package which makes auth scaffolding in Laravel 8. Open your command line/terminal and enter the following command.
composer require laravel/ui
Now we can generate auth scaffolding. There are two ways to generate auth scaffolding using Vue or using react. To generate auth scaffolding run the following command
php artisan ui vue –auth For vue
php artisan ui react –auth For react
For this tutorial, I am going to use the Vue one.
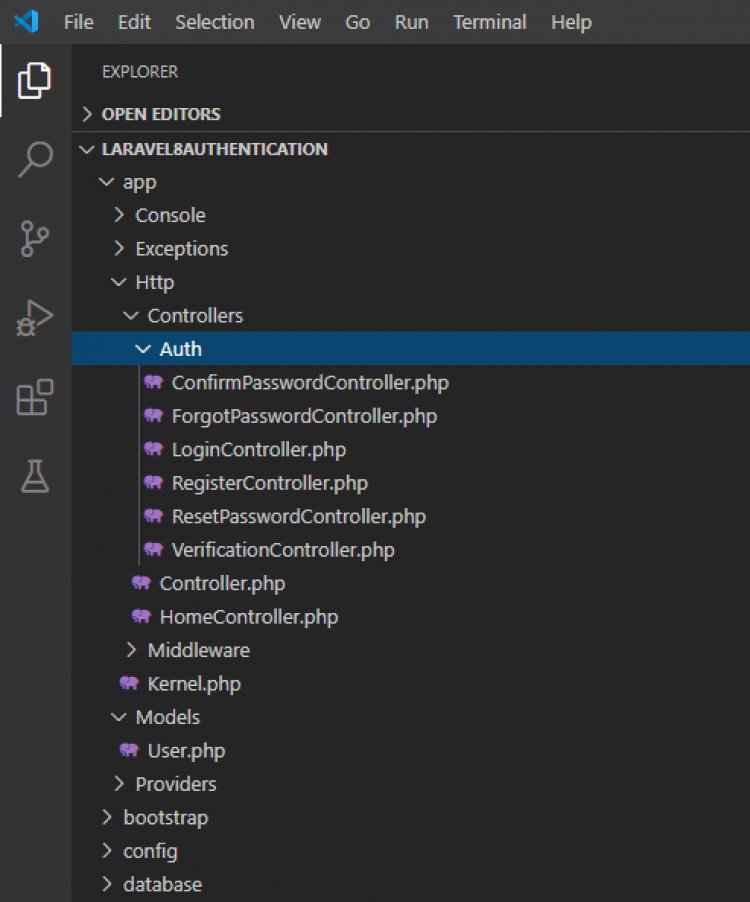
It will create the following files in your Laravel application

5. NPM Dependencies
The fifth step is to install NPM dependencies. These npm dependencies will help us to see a basic layout for our Laravel 8 login and registration page. Run the command below.
npm install
To compile the assets, run the following code in your terminal
npm run dev
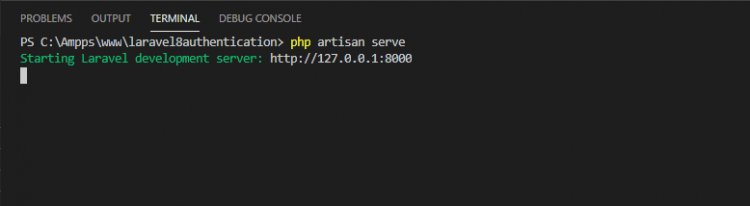
6. Run and Test the authentication system
After everything is successfully installed and configured it's time to run and test our Laravel 8 login and Registration application. You can run a Laravel application either by using the Laravel artisan command or you can directly run the application from your browser.
To use the artisan command type the following command in your terminal
php artisan serve
Go to your browser and type the following URL
You can change the port by the following command
php artisan serve –port=8080
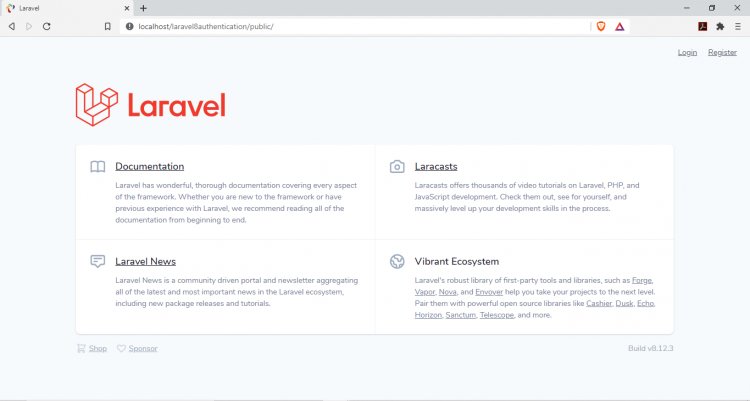
If you want to run the application from a browser then you can go to your browser and type the following URL http://localhost/laravel8authentication/public/
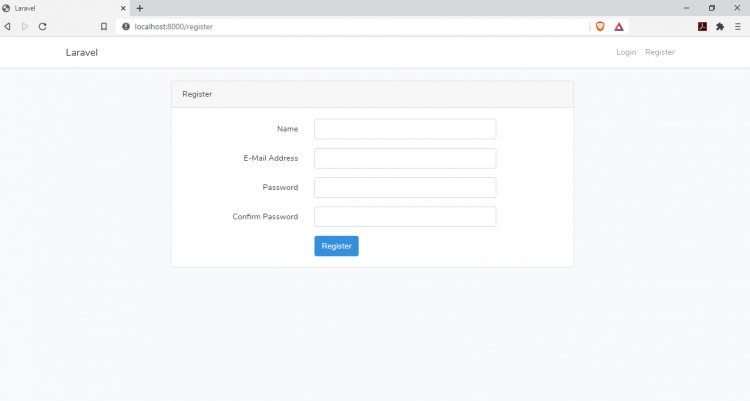
Registration Page:
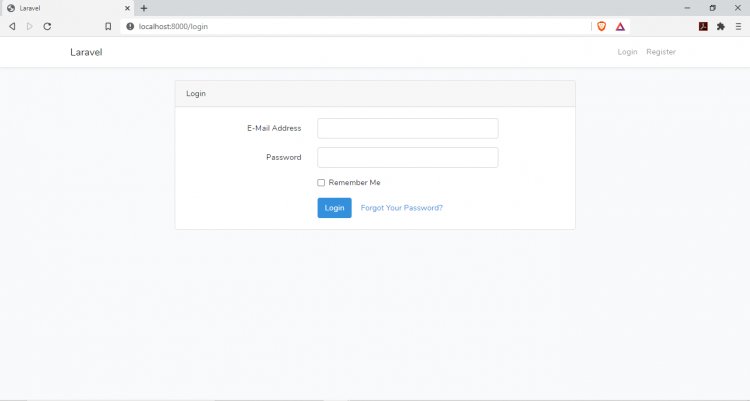
Login Page:
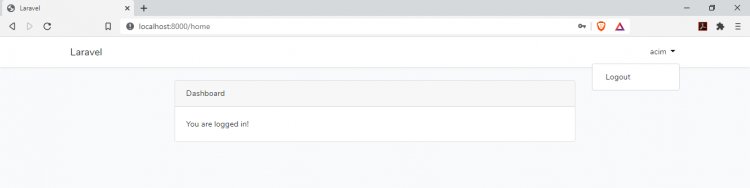
On successful authentication:

Logout:
Conclusion
Well, this is it. We have successfully created a login-logout and registration system using Laravel 8 and its inbuilt authentication.
I hope you liked it and will help you with the basic authentication system using Laravel 8.
What's Your Reaction?
 Like
3
Like
3
 Dislike
1
Dislike
1
 Love
3
Love
3
 Funny
1
Funny
1
 Wow
3
Wow
3
 Sad
1
Sad
1
 Angry
3
Angry
3


Comments (2)